
I edited my music video with Adobe Premiere Pro CS5. This is a noticeably older version of the Premiere Pro product, however I chose to use this version instead as to me it is the most efficient, whereas I find that newer versions have streamlined certain aspects a bit too much. However, this method definitely does have its drawbacks, which I was not fully aware of during the production of my music video. It is in fact quite clunky to edit on compared to later versions, and is much more awkward when it comes to exporting the video.
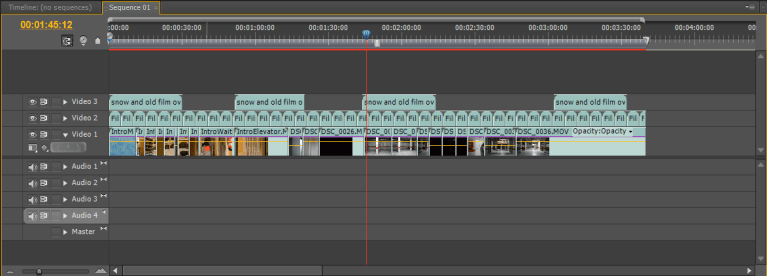
My first step was to arrange all of the footage recorded in the order that it needed to go in. This is obviously the most crucial part, as without this the Film would be nothing more than a compilation of long-lasting incoherent shots. While I arranged and trimmed the footage, I also made sure to remove the audio that had been recorded at the same time, as this was camera-quality audio and therefore not the best. Once this was done, I proceeded to add overlays on top of the footage that would help to fit the vintage theme that I was going for with my film.

I then proceeded to add a Black and White effect to the now-arranged footage, furthering increasing the old-school aspect of the film. This was much less complex to do when compared to my Music Video, as for that I needed to tint it a specific sepia tone, whereas when making my footage Black and White here, I was able to do that with a simple effect.
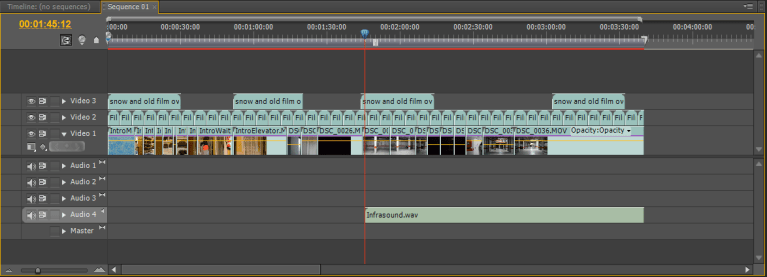
With the footage itself now pretty much finished, I moved onto the audio or Foley aspect of my Film. My first step here was to lay down an Infra-sound audio file. This is a specific piece of audio also known as the “Fear Frequency”. It was popularised by the movie Paranormal Activity and is an exceptionally low, almost inaudible sound that is said to cause listeners discomfort without them even realising, naturally putting them on edge. I hoped that this would increase the tension of my Film.
 Next I added the first proper layer of audio to my film, which consisted of light switches flipping on and off, a prominent aspect of my Film as a whole, and the opening and closing of a door. I feel as though I synced these sound effects up with the actions seen on screen quite well, especially considering that the audio was not taken from the shoot itself.

I then added two pieces of music to the Film. The first one is a simple piano track that serves to build the tension as the protagonist makes his way into the garage, stopping just as exits the elevator. The second piece is more complex and serves to accompany the protagonist, and viewer by default, as he explores the garage. I feel as though I did in fact have an over-reliance on these music clips as opposed to having real foley audio.

Finally, I added a brief credits sequence at the end of the Film, making sure to utilise the previously featured light switch effects to maintain the tone of the Film further. I also allowed the final music track to continue playing up until the final light switch. As there were only two actors in the whole film, and I did everything else, the credits sequence was naturally quite short.
